- A+
Introduction
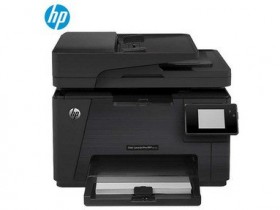
CAD (Computer-Aided Design) is an essential tool in the world of engineering, architecture, and design. When it comes to printing CAD designs, it is necessary to have a reliable printer that supports the necessary specifications required to produce high-quality prints. HP Printers are a popular choice among CAD users, and in this article, we will discuss how to set up an HP Printer Driver for CAD Printing.
Step 1: Download the Right Printer Driver
The first and most crucial step is to download the appropriate printer driver for your HP Printer. Ensure that you have chosen the right model and operating system, or the printer may not function correctly. You can find the drivers online on the HP website by entering your printer model and selecting the correct operating system.
Step 2: Install the Printer Driver
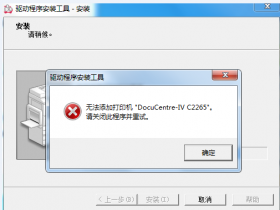
Once you have downloaded the driver, double-click on the downloaded file and follow the instructions to install it on your computer. During the installation, you will be prompted to connect your HP Printer to the computer. Make sure that the printer and computer are connected using the supplied USB or Ethernet cables.
Step 3: Configure Printer Settings for CAD Printing
After the driver is installed, you need to configure the printer settings to meet the requirements of CAD printing. Access the printer's properties by clicking on the 'Printers and Devices' option in the Control Panel and then selecting your HP Printer. Navigate to the 'Paper/Quality' tab, and select the size of the paper you will be using for printing your CAD designs. You can adjust the print quality to High Resolution for sharper and more precise printing.
Step 4: Set the Orientation and Margins
The orientation and margins of the print can significantly impact the final output of your CAD design. In the printer properties, select the 'Page Setup' tab and choose the orientation of your print. If your design requires a specific margin, adjust the margins accordingly to avoid losing any critical details in the final print.
Step 5: Print Your CAD Design
Once all the settings have been configured, you are ready to print your CAD design. Open the CAD software and select the print option. Ensure that your HP Printer is selected as the default printer, and then click the 'Print' button. The printer will start printing your CAD design as per your configured settings.
Conclusion
Printing CAD designs requires careful configuration of printer settings to achieve the desired output. By following the steps outlined in this article, you can set up your HP Printer driver for CAD printing and produce high-quality prints with ease. Remember to keep your printer driver and software updated to ensure that you have access to the latest features and functionality.