- A+
HP DeskJet 1110 Printer Driver Installation Guide
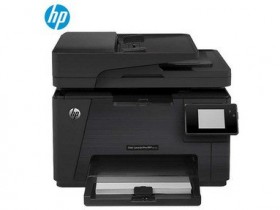
Printing documents and photos from your computer is an essential part of everyday life, which is why having a reliable and efficient printer is important. The HP DeskJet 1110 printer offers an affordable option for printing high-quality documents and photos, but in order to use the printer, you need to install the correct drivers onto your computer. In this guide, we will walk you through the steps to install the HP DeskJet 1110 printer driver on your computer to begin printing quickly and easily.
Step 1: Check System Requirements
The first step in installing the HP DeskJet 1110 printer driver is to ensure that your computer meets the system requirements. The printer is compatible with Windows and Mac operating systems, and you can check the specific requirements on the HP website. Additionally, ensure that your computer has enough available storage space to save the driver files.
Step 2: Download the Driver
Once you have checked your computer's system requirements, you can download the latest version of the HP DeskJet 1110 printer driver from the HP website. Simply go to the Downloads section for the printer on the website, select your operating system, and download the appropriate driver file. Some browsers may automatically save the file to your default Downloads folder, while others may ask you where to save the file. Make note of the location where the driver file is saved for the next step.
Step 3: Install the Driver
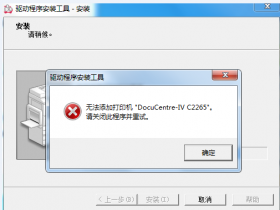
After the driver file has been downloaded, you can begin the installation process. Locate the driver file that you downloaded in Step 2, and double-click it to begin the installation process. Follow the on-screen instructions to complete the installation process. If you encounter any issues during the installation process, consult the HP website for troubleshooting tips.
Step 4: Connect the Printer
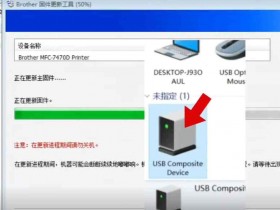
Once the driver has been installed, connect your HP DeskJet 1110 printer to your computer using the USB cable that came with the printer. After the printer is connected, turn it on and wait for a few moments for the computer to recognize the printer. Your computer should automatically detect the printer and install any additional drivers that may be necessary.
Step 5: Test Printing
After you have successfully connected the printer, it's time to test it out! Open any file that you want to print and select "Print" from the file menu. Ensure that the HP DeskJet 1110 printer is selected as the default printer, and adjust any necessary print settings. Click "Print," and your printer will begin printing the document. If the printer does not work properly, refer to the troubleshooting section in the user manual or the HP website for further assistance.
Overall, installing the HP DeskJet 1110 printer driver is a straightforward process that most users can complete within just a couple of minutes. By following these simple steps, you can begin printing your documents and photos with ease and enjoy the high-quality results that the HP DeskJet 1110 printer offers. Happy printing!