- A+
Introduction
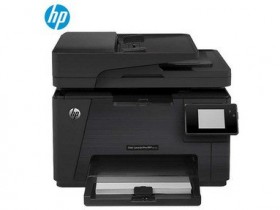
Printers are essential computer accessories that enable us to create tangible copies of documents, images, and other digital content. However, printers require compatible software drivers to function correctly with specific computer systems. If you're having issues with your Notebook Zebra printer, it's possible that you need to reinstall the printer driver. This article will guide you through the process of reinstalling the Notebook Zebra printer driver step by step.
Step One: Removing the Old Driver
Before reinstalling the printer driver, you need to remove the old one. To do this, follow the simple steps below:
Press the "Windows" key and "R" to open the Run dialog box.
Type "appwiz.cpl" and hit Enter to open the Programs and Features window.
Find the Notebook Zebra printer driver and click on it to select it.
Click on the "Uninstall" button at the top of the window.
Follow the prompts to complete the driver uninstallation process.
Step Two: Downloading the Latest Driver
After removing the old driver, you need to download the latest Notebook Zebra printer driver. Go to the official Zebra website and choose the correct driver for your Notebook model. Follow these steps:
Open your web browser and go to zebra.com.
Click on "Support & Downloads" at the top of the page.
Select "Printers" from the drop-down list.
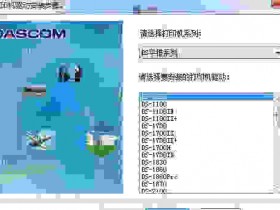
Choose your Notebook model from the list and click on it.
From the downloads section, select the latest driver version and click on it.
Choose the correct operating system version and click "Download."
Step Three: Installing the New Driver
Now that you've downloaded the latest Notebook Zebra printer driver, it's time to install it. Follow these steps:
Double-click on the downloaded driver setup file to start the installation process.
Follow the prompts to finish the installation process.
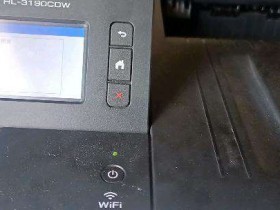
After installation, connect your Notebook Zebra printer to your computer.
Turn on the printer and wait for your computer to detect the device automatically.
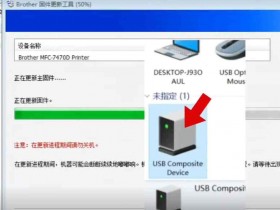
If your computer doesn't detect the printer automatically, go to "Control Panel" > "Devices & Printers" and click on "Add a Printer."
Choose the Notebook Zebra printer from the list of available printers and click "Next."
Follow the prompts to complete the printer installation process.
Conclusion
Reinstalling the Notebook Zebra printer driver is a simple process that can solve most printing issues. Removing the old driver, downloading the latest driver, and installing it correctly are the only steps required. If you're still experiencing printing issues after reinstalling the driver, it's possible that some hardware components of the printer or your computer need repair or replacement.